
Blog
The Antropy OpenCart Blog
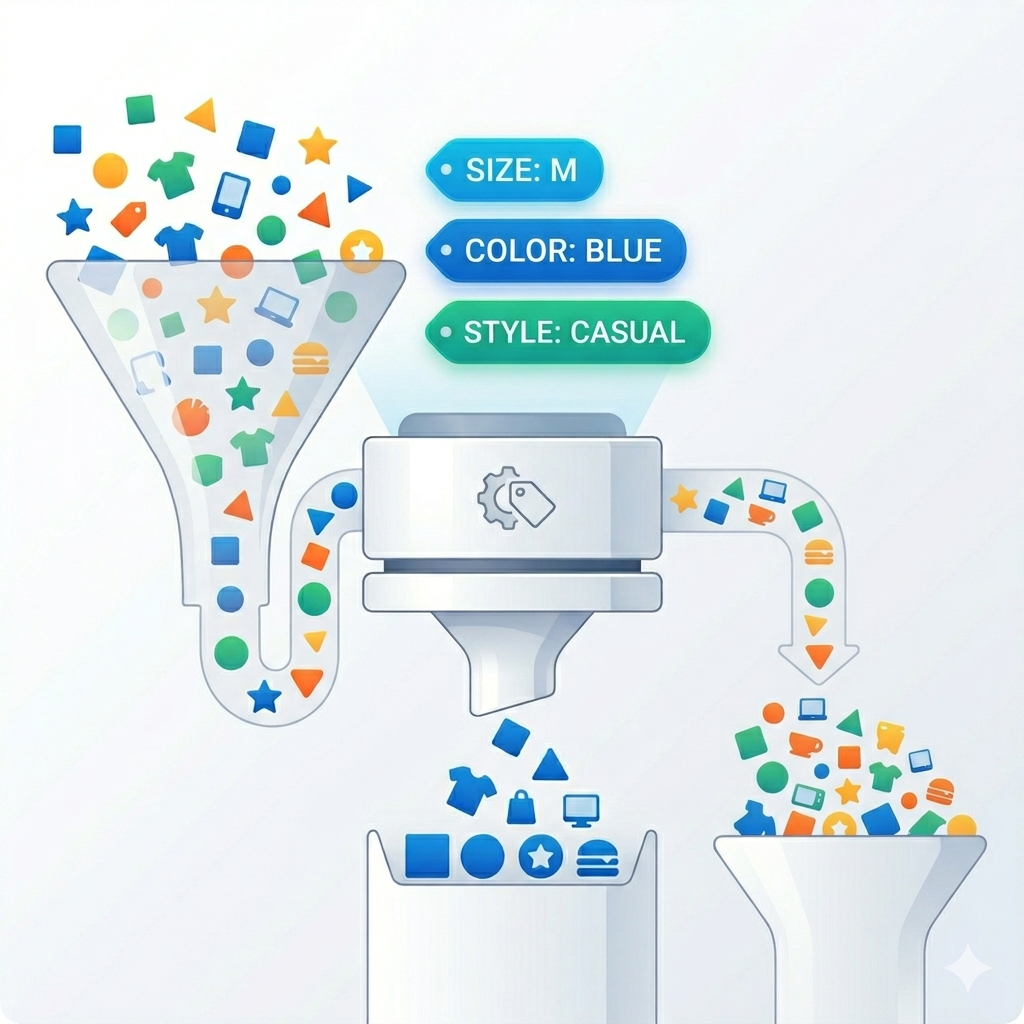
How to set up and use OpenCart filters
How to set up and use OpenCart filters
Filters can be a very useful tool for your OpenCart store, allowing customers to quickly find what they want without having to deal with searching by specific product names. This increases the usability of your site by a considerable degree, and increases discoverability within it, likely causing purchases that would not otherwise have happened.
A short tutorial on how to set up and use filters in OpenCart 3:
- First, you need to define a filter group. A good example would be "Colour". In the admin panel's left tabs, go to Catalog -> Filters to reach the filter group listing, and click the plus sign and the top right to start creating a new filter group. You can select the name and sort order, where, for example, a filter group of sort order 2 would appear after a group with order 1 when both are present.
- While editing the new filter group, you can also create the individual filters that will be used. In the case of a "Colour" group, these filters could be "red", "green", and "blue" for example. To create a new filter, just click the plus sign in the right of the table labelled "Filter Values". You can add as many filters as you need, then make sure to save the filter group by clicking the save icon near the top right.
- You now need to add the filters to the categories you intend them to be used on. To do this, navigate to Catalog -> Categories, and then select a category of your choice. Once editing it, you can select the "Data" tab, and add a filter by selecting it from the drop down in the "Filters" section. You can also start typing the name of the filter to search for filters. Once all filters you need are added, save the category.
- Adding filters to products. This will be what actually allows searching with a filter to display the relevant products. Navigate to Catalog -> Products, choose a product to edit, and go to the "Links" tab. Here, you can select which filters are valid for a product, in the same manner that filters were selected for a category. Once done, make sure to save, and repeat this for other products that need to be tagged by a filter.
- Now we need to make sure the actual filtering box will show up in the category page. First, navigate to Extensions -> Extensions, then select the "Modules" tab from the drop down. Make sure the filter model is installed, clicking the green plus sign next to it if not, and enabled, which can be done by clicking the pencil button next to it to edit, and the selecting "enabled" in the status dropdown and saving by clicking the save icon near the top right.
- Now navigate to Design -> Layout, and select the layout used in the relevant category page. If you've made no changes to it, this would just be the "Category" layout. you can now add a module by selecting it in the "Choose the position of the modules" section. First, click on the plus sign near the empty text box in the section you would like to add the filter search box in, then, in the same section, select the "Filter" module. Once this is done and the layout is saved, navigate to the category page and you now should see your "Colour" filter in the location desired.
And that's all! now you should have filtering set-up for your category of choice, allowing quick navigation to products customers want. Please comment below if you have any questions!