
Blog
The Antropy OpenCart Blog

How to Install an OpenCart Extension in OpenCart 3
OpenCart extensions can add functionality and enhance the features of your e-commerce website. Installing these extensions is relatively straightforward, especially with OpenCart's user-friendly interface. Follow these steps to successfully install an OpenCart extension:
1. Choose, and Download Your Extension
Before you can install an OpenCart extension, you need to decide which one you want to use. Extensions can be found on the OpenCart Marketplace, or you can take a look at some of our best OpenCart extensions here. Make sure the extension is compatible with your version of OpenCart.
Once you've chosen your desired extension, download the installation package to your computer. Typically, extensions are downloaded as .zip files. Remember where you save the file as you'll need it in the next steps.
2. Extract the Files
After downloading the extension, extract the contents of the .zip file. You should see a folder containing various files and directories related to the extension.
3. Connect to Your Server
Access your OpenCart store's files via FTP (File Transfer Protocol) or using a file manager provided by your web hosting control panel. You'll need to connect to your server to upload the extension files.
4. Upload the Extension Files
Navigate to the "Extensions" directory within your OpenCart installation on your server. Depending on the type of extension, you may need to upload files to different directories (e.g., admin or catalog). Follow the extension developer's instructions for the correct location.
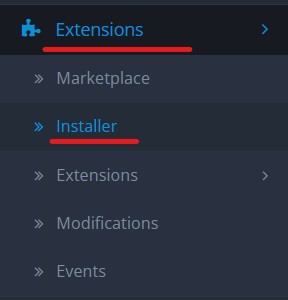
5. Click on "Upload"
Within the Extensions page in the admin panel, locate and click on the "Installer" tab and click the"Upload" button. This will allow you to upload the extension installation package directly from your computer.
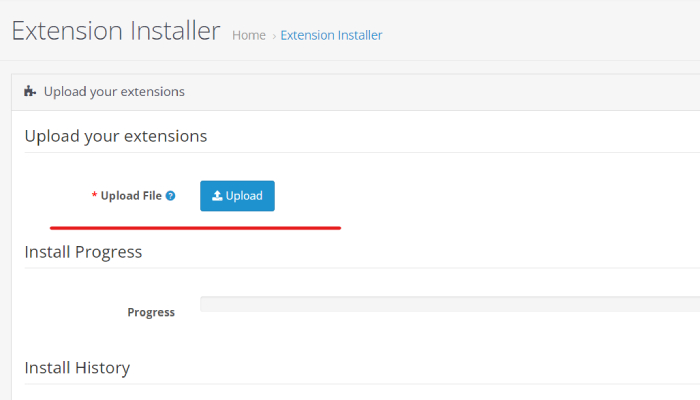
Click on the "Choose File" button and select the .ocmod.zip file you extracted earlier. Once selected, click on the "Upload" button to begin the installation process.
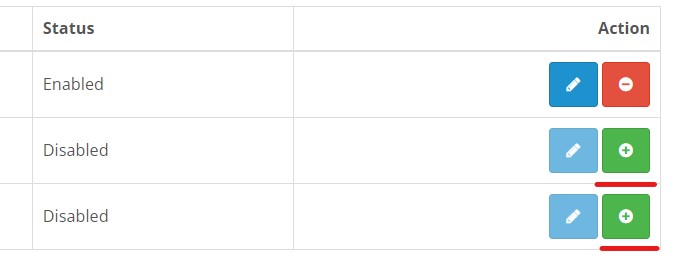
6. Enable the Extension
After the extension package is uploaded, OpenCart will validate and install it. You'll see a success message if the installation is completed without any errors. Make sure that the extension is enabled.
7. Configure the Extension (If Necessary)
Some extensions may require additional configuration. Navigate to the appropriate section in your OpenCart admin panel to configure the extension settings according to your preferences. If you need help configuring your extension, please don't hesitate to reach out to us here or email us at info@antropy.co.uk.
8. Test the Extension
Once the installation and configuration are complete, it's essential to test the extension to ensure it's functioning correctly. Perform various actions related to the extension's functionality to confirm everything is working as expected.
Congratulations! You've successfully installed an OpenCart extension. Your e-commerce store now has enhanced features to better serve your customers.